 GoMango Timing Help
Install & Network Setup
What to install, and how the Timing computer sets itself up as the event's timing server.
What runs where
| App | Runs on | Needs |
|---|---|---|
| Timing | One computer — the event’s timing server | PostgreSQL database engine installed locally; local administrator rights for first-time setup |
| LiveTiming | Any computer with internet access, on the same local network as Timing | Nothing special — just the app |
| Announcer | Any computer on the same local network as Timing | Nothing special — just the app |
Timing owns the event data in a local PostgreSQL database, and listens on the network for LiveTiming and Announcer to connect. Because of this, the computer running Timing needs PostgreSQL installed, and needs to be reachable from the other computers on the network.
How to install
Download the latest version here
If this is your first time install, you will need to select a location to unzip these files. The suggested location is %APPDATA%.
If you hav previously installed the software, replace the existing GoMango folder with the one from the ZIP file you downloaded. If you don't know where that is, there should be blue "Timing" icon on the Windows taskbar. Right click that. Then right click the "Timing" icon in the menu that appears. You will then see a list of options. Select "Open file location". In the navigation bar at the top of the Windows Explorer window that opens, you should see a "GoMango" folder. That is the one you need to replace with the one from the ZIP file you downloaded.
The first time you run after downloading a new version, you will see a warning like this:
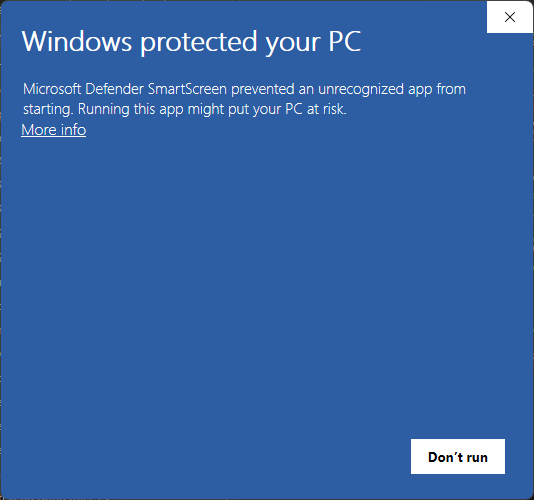
Click on the
"more info" link. The message will change to:
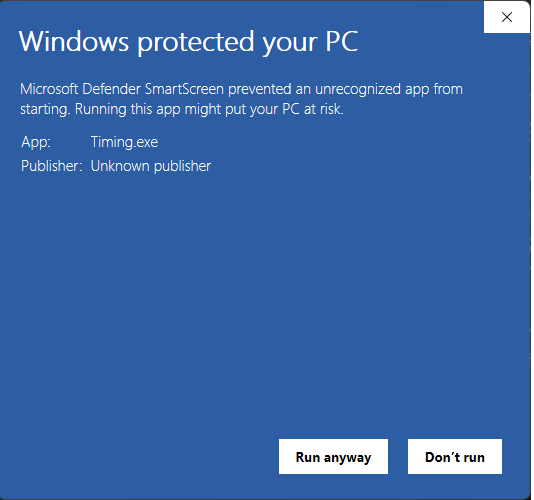
Click "Run anyway". You will only
need to do this once after you download any new version.
What Timing configures automatically on first run
The first time Timing starts on a computer, it tries to make itself reachable on the local network:
- Windows Firewall rules — adds an inbound rule allowing PostgreSQL (TCP 5432) and one allowing the app’s discovery traffic (UDP), so LiveTiming and Announcer on other computers can find and reach it.
- PostgreSQL client access — appends entries to PostgreSQL’s
pg_hba.confallowing connections from common private network ranges (10.0.0.0/8,172.16.0.0/12,192.168.0.0/16), so other computers on the event network can reach the database.
If this step can’t complete (for example, the app wasn’t run as administrator), you’ll see a prompt to run it again as administrator, or a warning that other computers on the network might not be able to connect.
Choosing the network
If the Timing computer has more than one active network connection (e.g. Wi-Fi and Ethernet both up), a dialog appears asking which address the other GoMango apps should use to reach it. Pick the network that the LiveTiming and Announcer computers are actually on — typically the event Wi-Fi or wired LAN, not a hotel/venue guest network that isolates devices from each other.
First-time database creation
If Timing can’t find its usual timing database on first run, it will offer to create
one. You’ll be asked for the postgres superuser password that was set when
PostgreSQL was installed — this is only needed once, to create the database and its login. After
that, Timing connects automatically.
If it still can’t connect, an Open Database dialog lets you enter the database
host, port (default 5432), and database name (default timing) manually.